

Last week, as planned, I made a list of things-to-do away from the computer, and one of the items, which I procrastinated on for the last month, was digging out a portion of our crawl space to make room for canned goods (they store best in dark cold spaces). Well, guess what? Putting it on the list made it happen. Every member of the family pitched in (besides Zizou of course), the hero of the project being our 9-year-old who voluntarily carried 20 buckets of dirt down the 30 steps to the front of the house.
I am so happy to have that done, my canned goods now have a dedicated space and so do my reusable bottles and jars.
That said, I thought this week would be an ideal time to post about (crushed) tomato canning. Canning has a reputation of scaring the novice cook, but there really is nothing to it, as it seriously is not as difficult as one might expect. All you need here is canning jars (I use Le Parfait canning jars in this recipe), a large pot, a colander, a ladle, a towel, a rock, and tomatoes of course. Visit your farmer's market at closing time to get the best deal on a large amount. In my town, $5/5lbs is a good deal.
Every cook has his/her way, and this is how I do mine:
1 - Sterilize the jars: Dunk them in a large pot of boiling water and set them aside to dry on a towel.

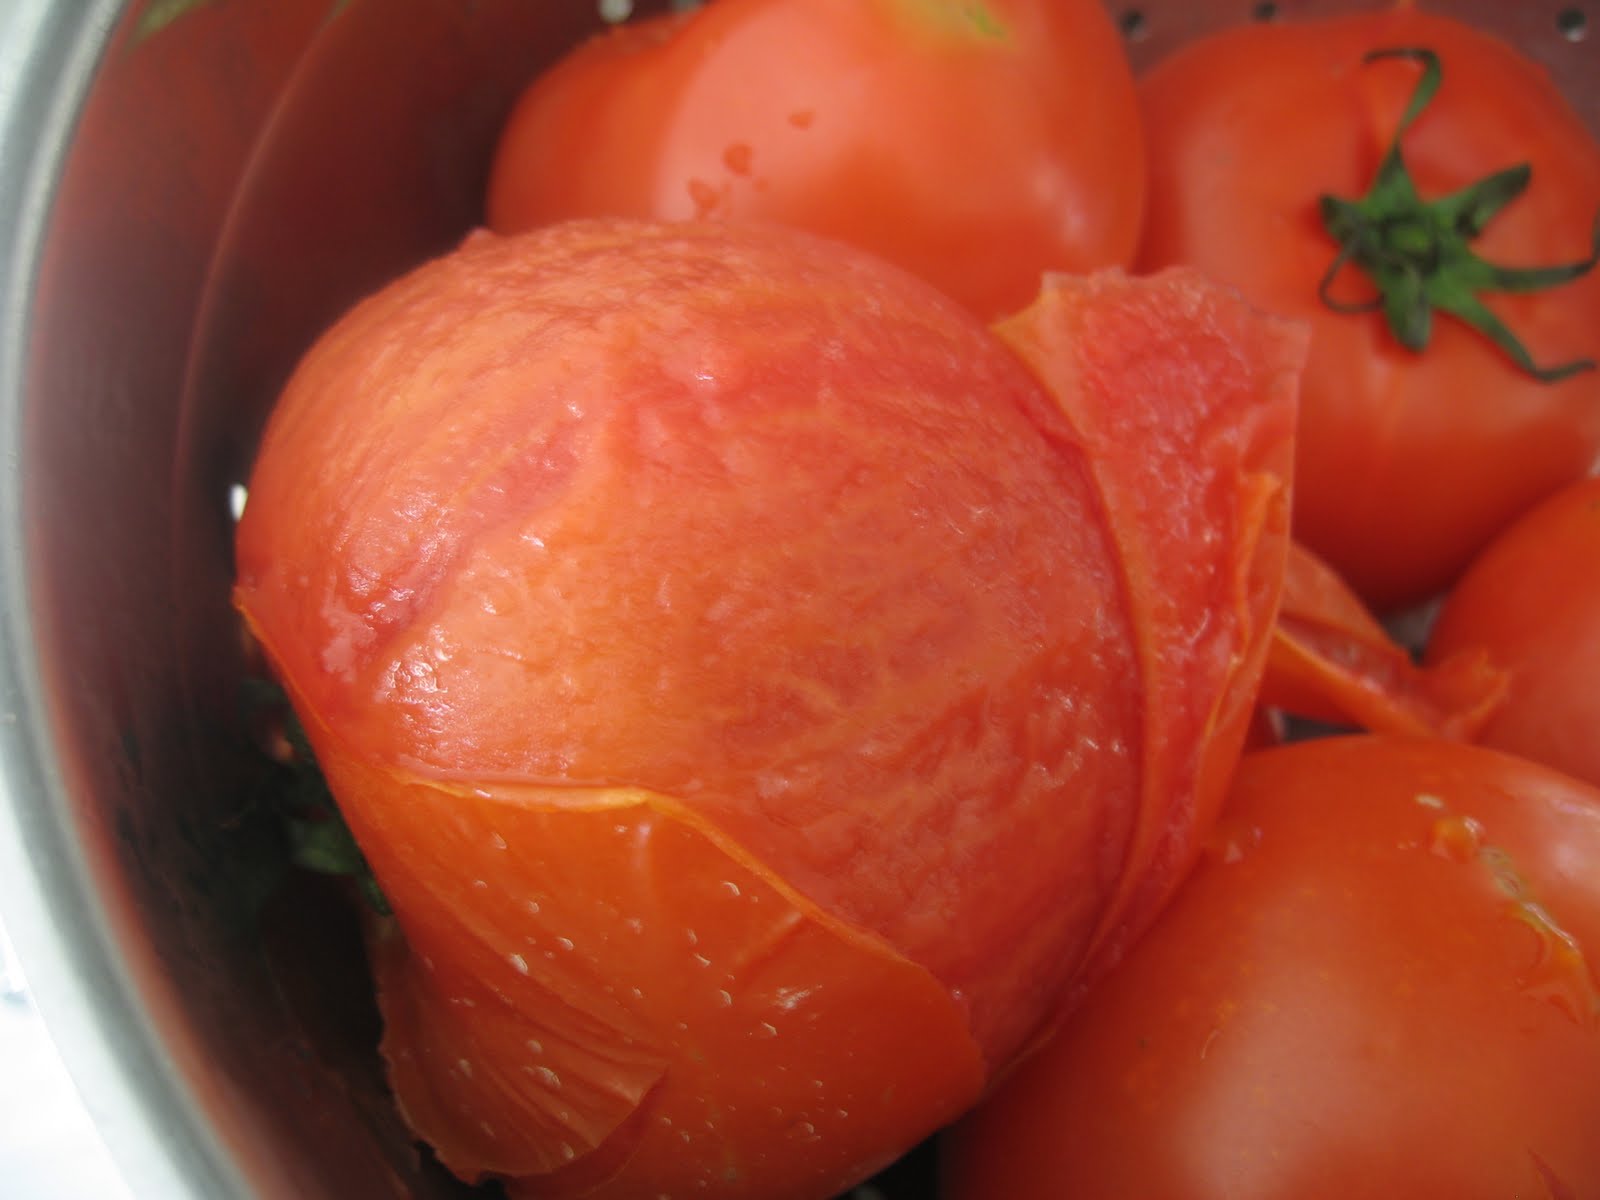
2 - In the same hot bath, dunk the tomatoes for about 2 minutes (that's to make peeling easy), and pull them out one by one into a colander to cool.

3 - Peel, core, and hand-crush the tomatoes, one by one, into a large bowl.
4 - Ladle the crushed tomatoes into the jars (french canning jars have a fill line), wipe the jars rims clean, add a rubber gasket on the lids and clip the jars shut.

5 - Lower the filled jars in the same pot of water (you can also stack them up if you use a tall pot), push a towel between them and add a weight, such as a rock, on them (so they don't cling into each other and break during boiling).

6 - Add water so that the jars are submerged by 1-inch of water and bring to a boil.
7 - After 45 minutes of boiling, turn off the heat.
8 - Let cool and take the jars out of the water to dry.
9 - Test proper canning by un-clipping a jar. If it opens, the canning process failed. If you use Mason Jars (screw-tops), the lid should be depressed indicating a proper vacuum.
10 - Store in a dark, cool place, preferably a freshly dug crawl space ;) so that your canned treasures can last and taste as good as my grandmother's 1978 plums, which I tasted a couple of years ago. They were in-cre-di-ble. The eau-de-vie marinade might have had something to do with their tastiness though...

Just looking at that picture reminds me that we live in an earthquake prone region... it just added a new item to my TO-DO list: Secure shelving before next shake;)